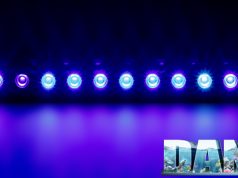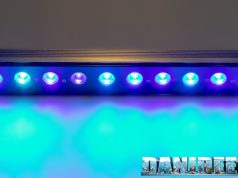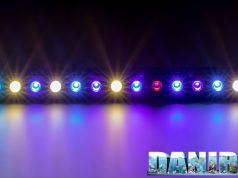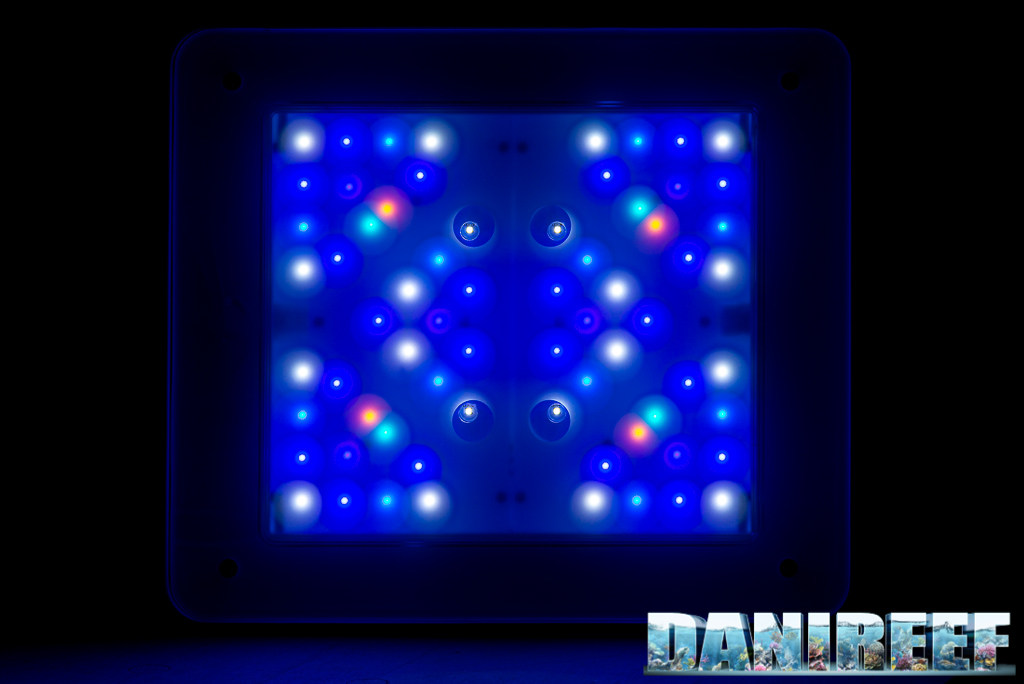
Finally we have in our hands the new Philips CoralCare Gen2 even if still in prototype version. We analyzed the PAR and observed the created curves. Let’s see how it went!
This article is also available in: italiano
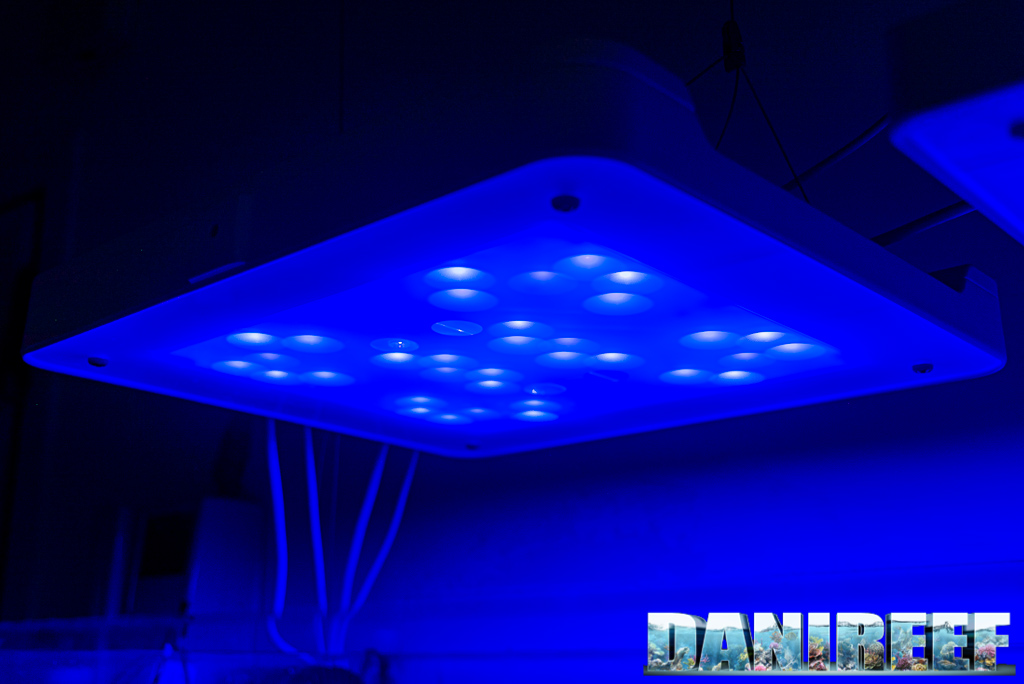
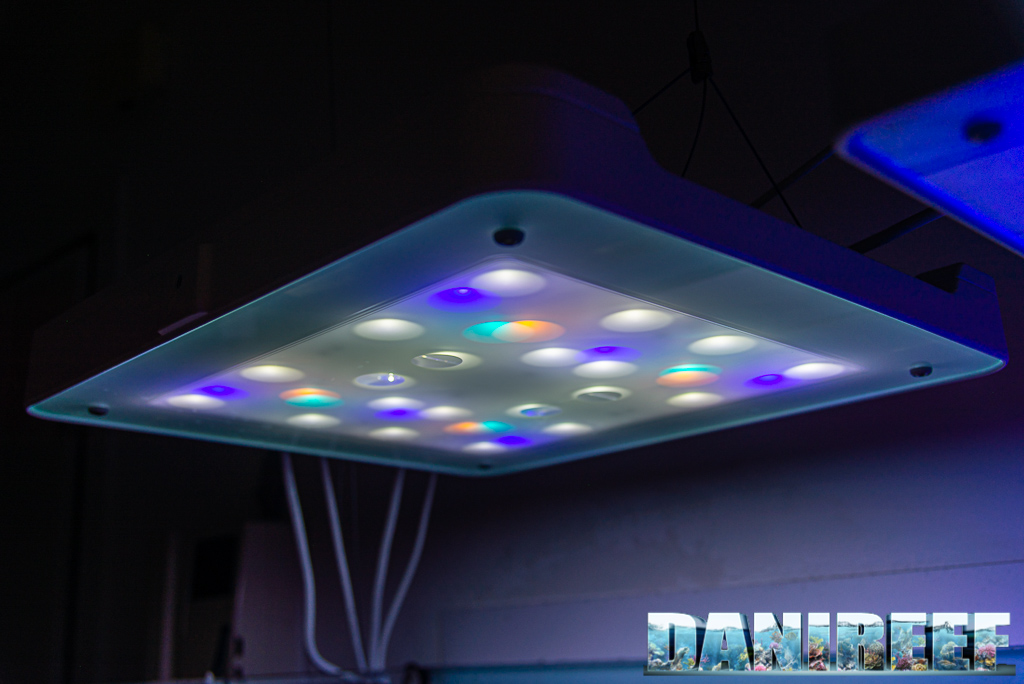
The Philips CoralCare Gen2 it’s the upgraded version of the Philips CoralCare of four years ago, that many people thought it would only be a flash in the pan. But two years later came out an improved version of the same CoralCare, and after four years there’s a new design that renovates all the aspects of this ceiling light. New LED, new shape, new controller. It’s completely new compared to the original unit. The ceiling light is much more thinner than the previous CoralCare and it still takes advantage of the passive cooling. Inside the shell there’s also the power supply, so the installation is much easier. Looking forward for the second unity to place in our aquarium, meanwhile we have tested its behavior in our DaniReef Lab.
Technical characteristics of the Philips CoralCare Gen2
The ceiling light is rectangular, it’s almost 6 cm of height, with a base of 46×41 cm. The LED have 6 different coloration mixed in two different channels. There are no LED for the moonlight that other ceiling lights have. Philips insists on the quality of their solution and guarantees an use of 25.000 hours before the LED lose the 10% of their luminous efficiency, as long as the environment temperature doesn’t go over 35 degrees.
| Maximum consumption | 170 w |
| Total weight | 7 kg |
| Dimensions | 460x410x57 mm |
| Maximum current for a singleLED | 750 mA |
| Luminous flux | 7.706 Lm |
| LED configuration | |
| Channel 1 | 4x Luxeon C PC-Amber |
| 4x Luxeon C Cyan 490nm | |
| 20x Luxeon V2 6500k | |
| 6x Luxeon C Royal Blue 450nm | |
| Channel 2 | 12x Luxeon C Blue 470nm |
| 6x Luxeon UV U1 415nm | |
| 16x Luxeon C Royal Blue 450nm |
Construction
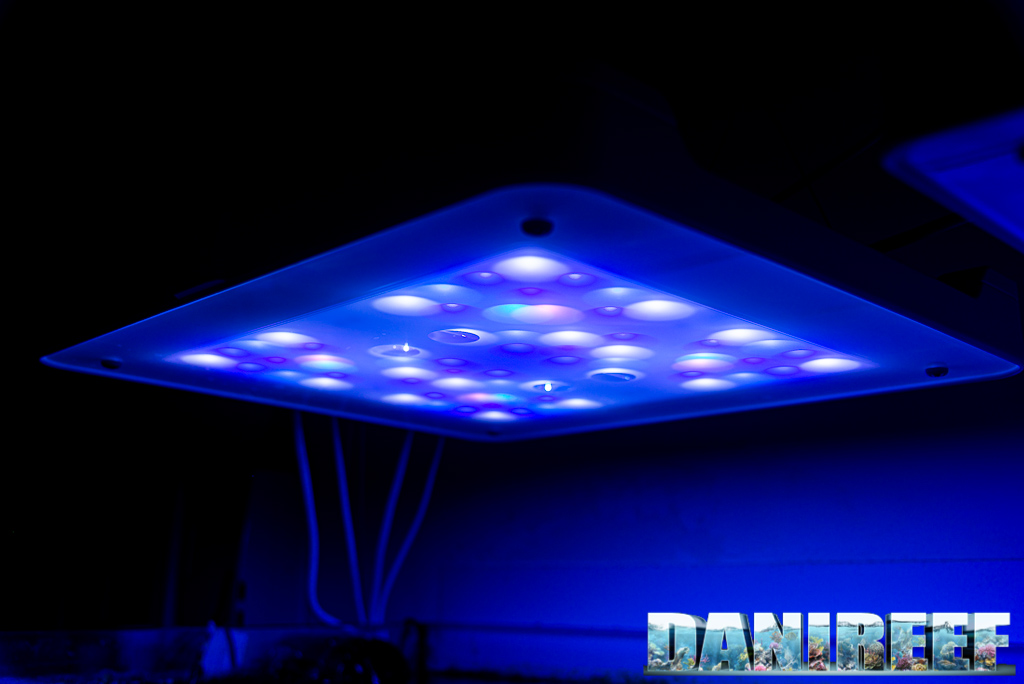
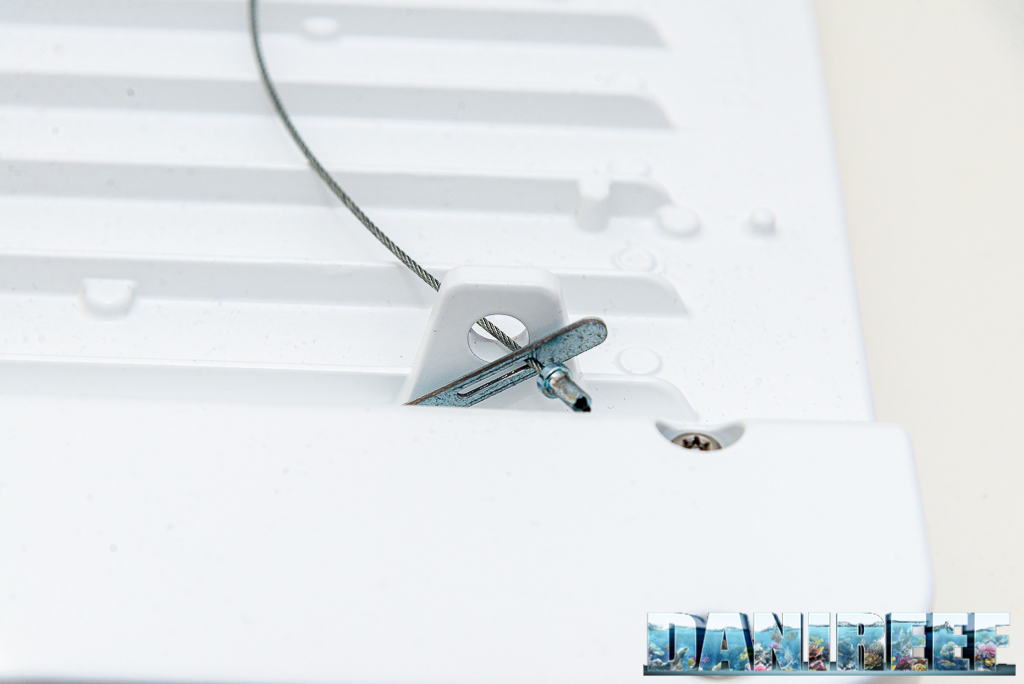
The construction of the ceiling light is flawless, as always, but this time the design is much better. Now it seems much less industrial design and we like it more. The hanging system is beautiful, as you can see in detail in the following pictures. The shell is presumably built in aluminium, and there aren’t any cracks. No buttons either. The ceiling light switches on when it connects to the electricity, then it can be configured by bluetooth, a choice that revelead to be easier and more immediate than wifi.
The Programming
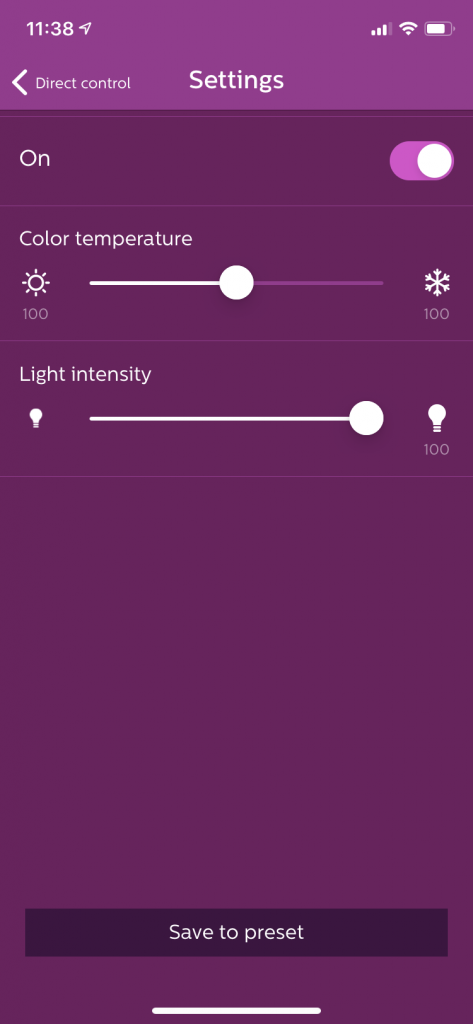
The ceiling light is set and managed by an app that works through bluetooth. This modality is very easy to be used, because the app will find flawlessy the ceiling lights. Anyway, there’s a USB cable for connecting the ceiling light to the pc if you want to use the program as well as with the other CoralCare. Moreover, you can also activate the wifi with the app, a feature that we didn’t try.
Once you’re connected, you select the ceiling light you want to set. Differently from the past there’re some preset that you can choose, that I always suggest for neophytes, but even the classic set mode, that comes with sliders, is extremely easy.
As you may already know the Philips CoralCare is organized in two channels, one includes the main part of the blue colors while the other has the warm ones. With the slider you can easily choose the part of the spectrum you desire, considering the middle the point where the LED have all the same power. With another slide you choose the intensity of the curve. Very easy to use, but maybe a little to much for those who prefer to manage each channel selectively.
The Philips is compatible with external control, like Apex, for example. But even in this case you can dispose of the usual two channels, that both go from 0 to 100%. You can variate the given spectre only by mixing the two channels.
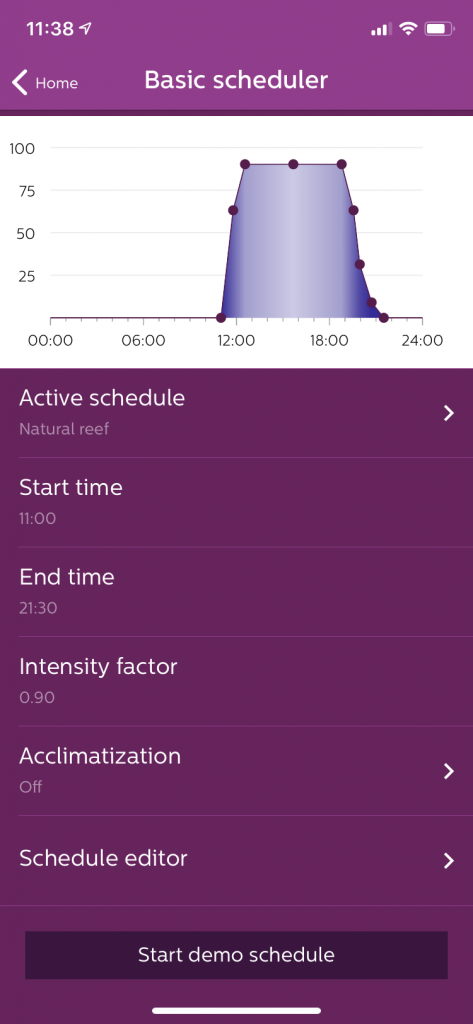
Here above you can graph the resulting by your choices. In this case it’s on the blue tones because that’s the part we considered the most for this article. You can also choose the acclimatization of the ceiling light.
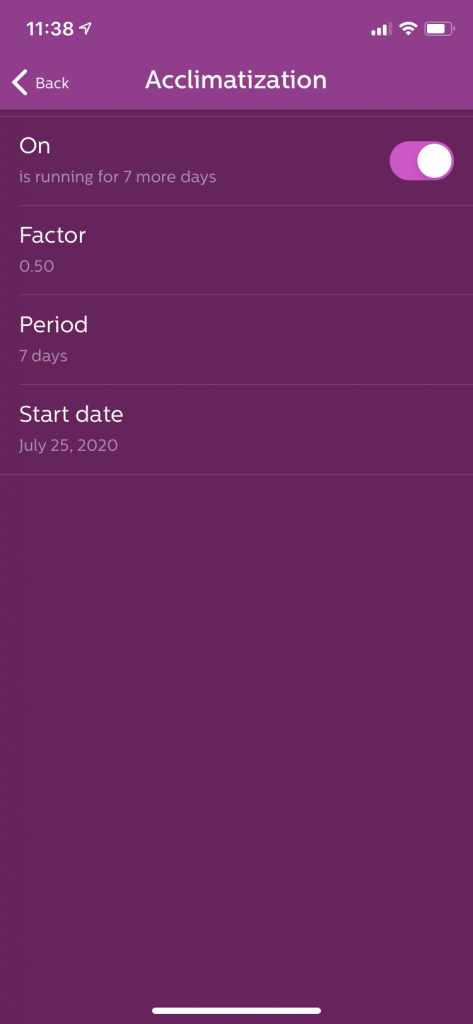
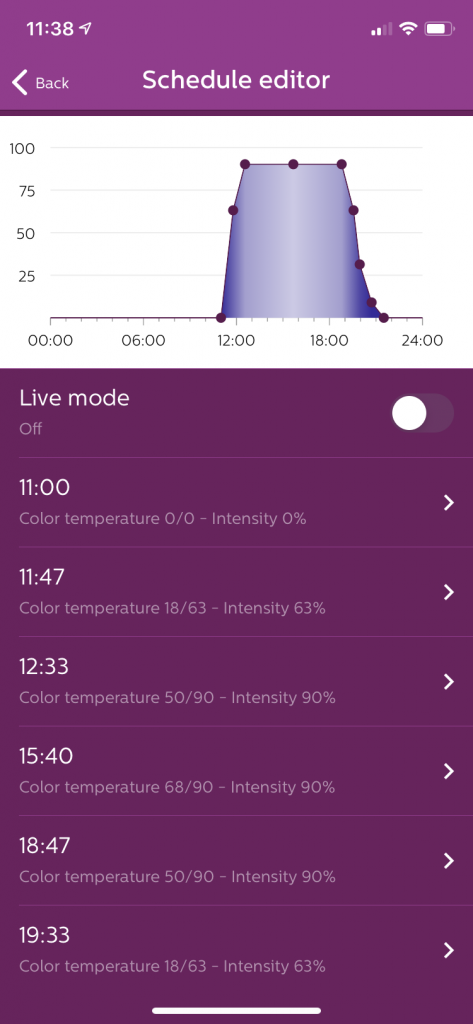
Above there’s the screen for the acclimatization, and below there’re the options for every hour. You can add or take off point at your choice, and for each point you can choose color and intensity. The logic of the ceiling light will do the rest. The Live Mode allows to see immediately what it’s happening in the ceiling light.
Channel 1: Blue
Channel 2: Warm colors
Final result

All the values we measured and our working method DaniReef LAB are on page two.


