Salifert tests are popular in marine aquatics and are somewhat of a “base” measurement for many newbies, or those who want to spend little.
This article is also available in: Italiano
They are also very easy to obtain in Switzerland as well as in Italy or Germany. Salifert tests allow measuring all the most important values in the marine aquarium, triad, pollutants, some trace elements and other water values, such as pH. We can undoubtedly say that their price places them at the low end of the market. By many, however, they are considered “professional”, as opposed to other tests in the same price range, which are not recommended for the marine aquarium: perhaps this is what makes them so popular.
In this first series of articles we want to introduce you to Salifert tests for measuring the “triad,” that is, calcium, magnesium and kh in marine aquarium. So let’s start right away with Chapter 1!
Why measure calcium
It is unnecessary to explain how important calcium is for the growth of corals and coralline algae. There are so many methods to replenish it in our aquariums, however, one thing is common to all methods that I know of: we need to know the consumption of calcium in our aquarium in order to supplement it properly. Although there may be guidelines of how much calcium an aquarium consumes, depending on the size of the tank and the number of corals, it is simply impossible to keep a parameter within certain values if we cannot measure it.
Anyone who has an aquarium with hard corals will therefore have to measure the amount of calcium (in mg/L or ppm), using either a reagent test or a laboratory test (ICP), the latter, however, is quite expensive and you have to wait days for the results, which is why the vast majority of aquarists (practically everyone) also (or only) use reagent tests such as the Salifert Calcium Test.
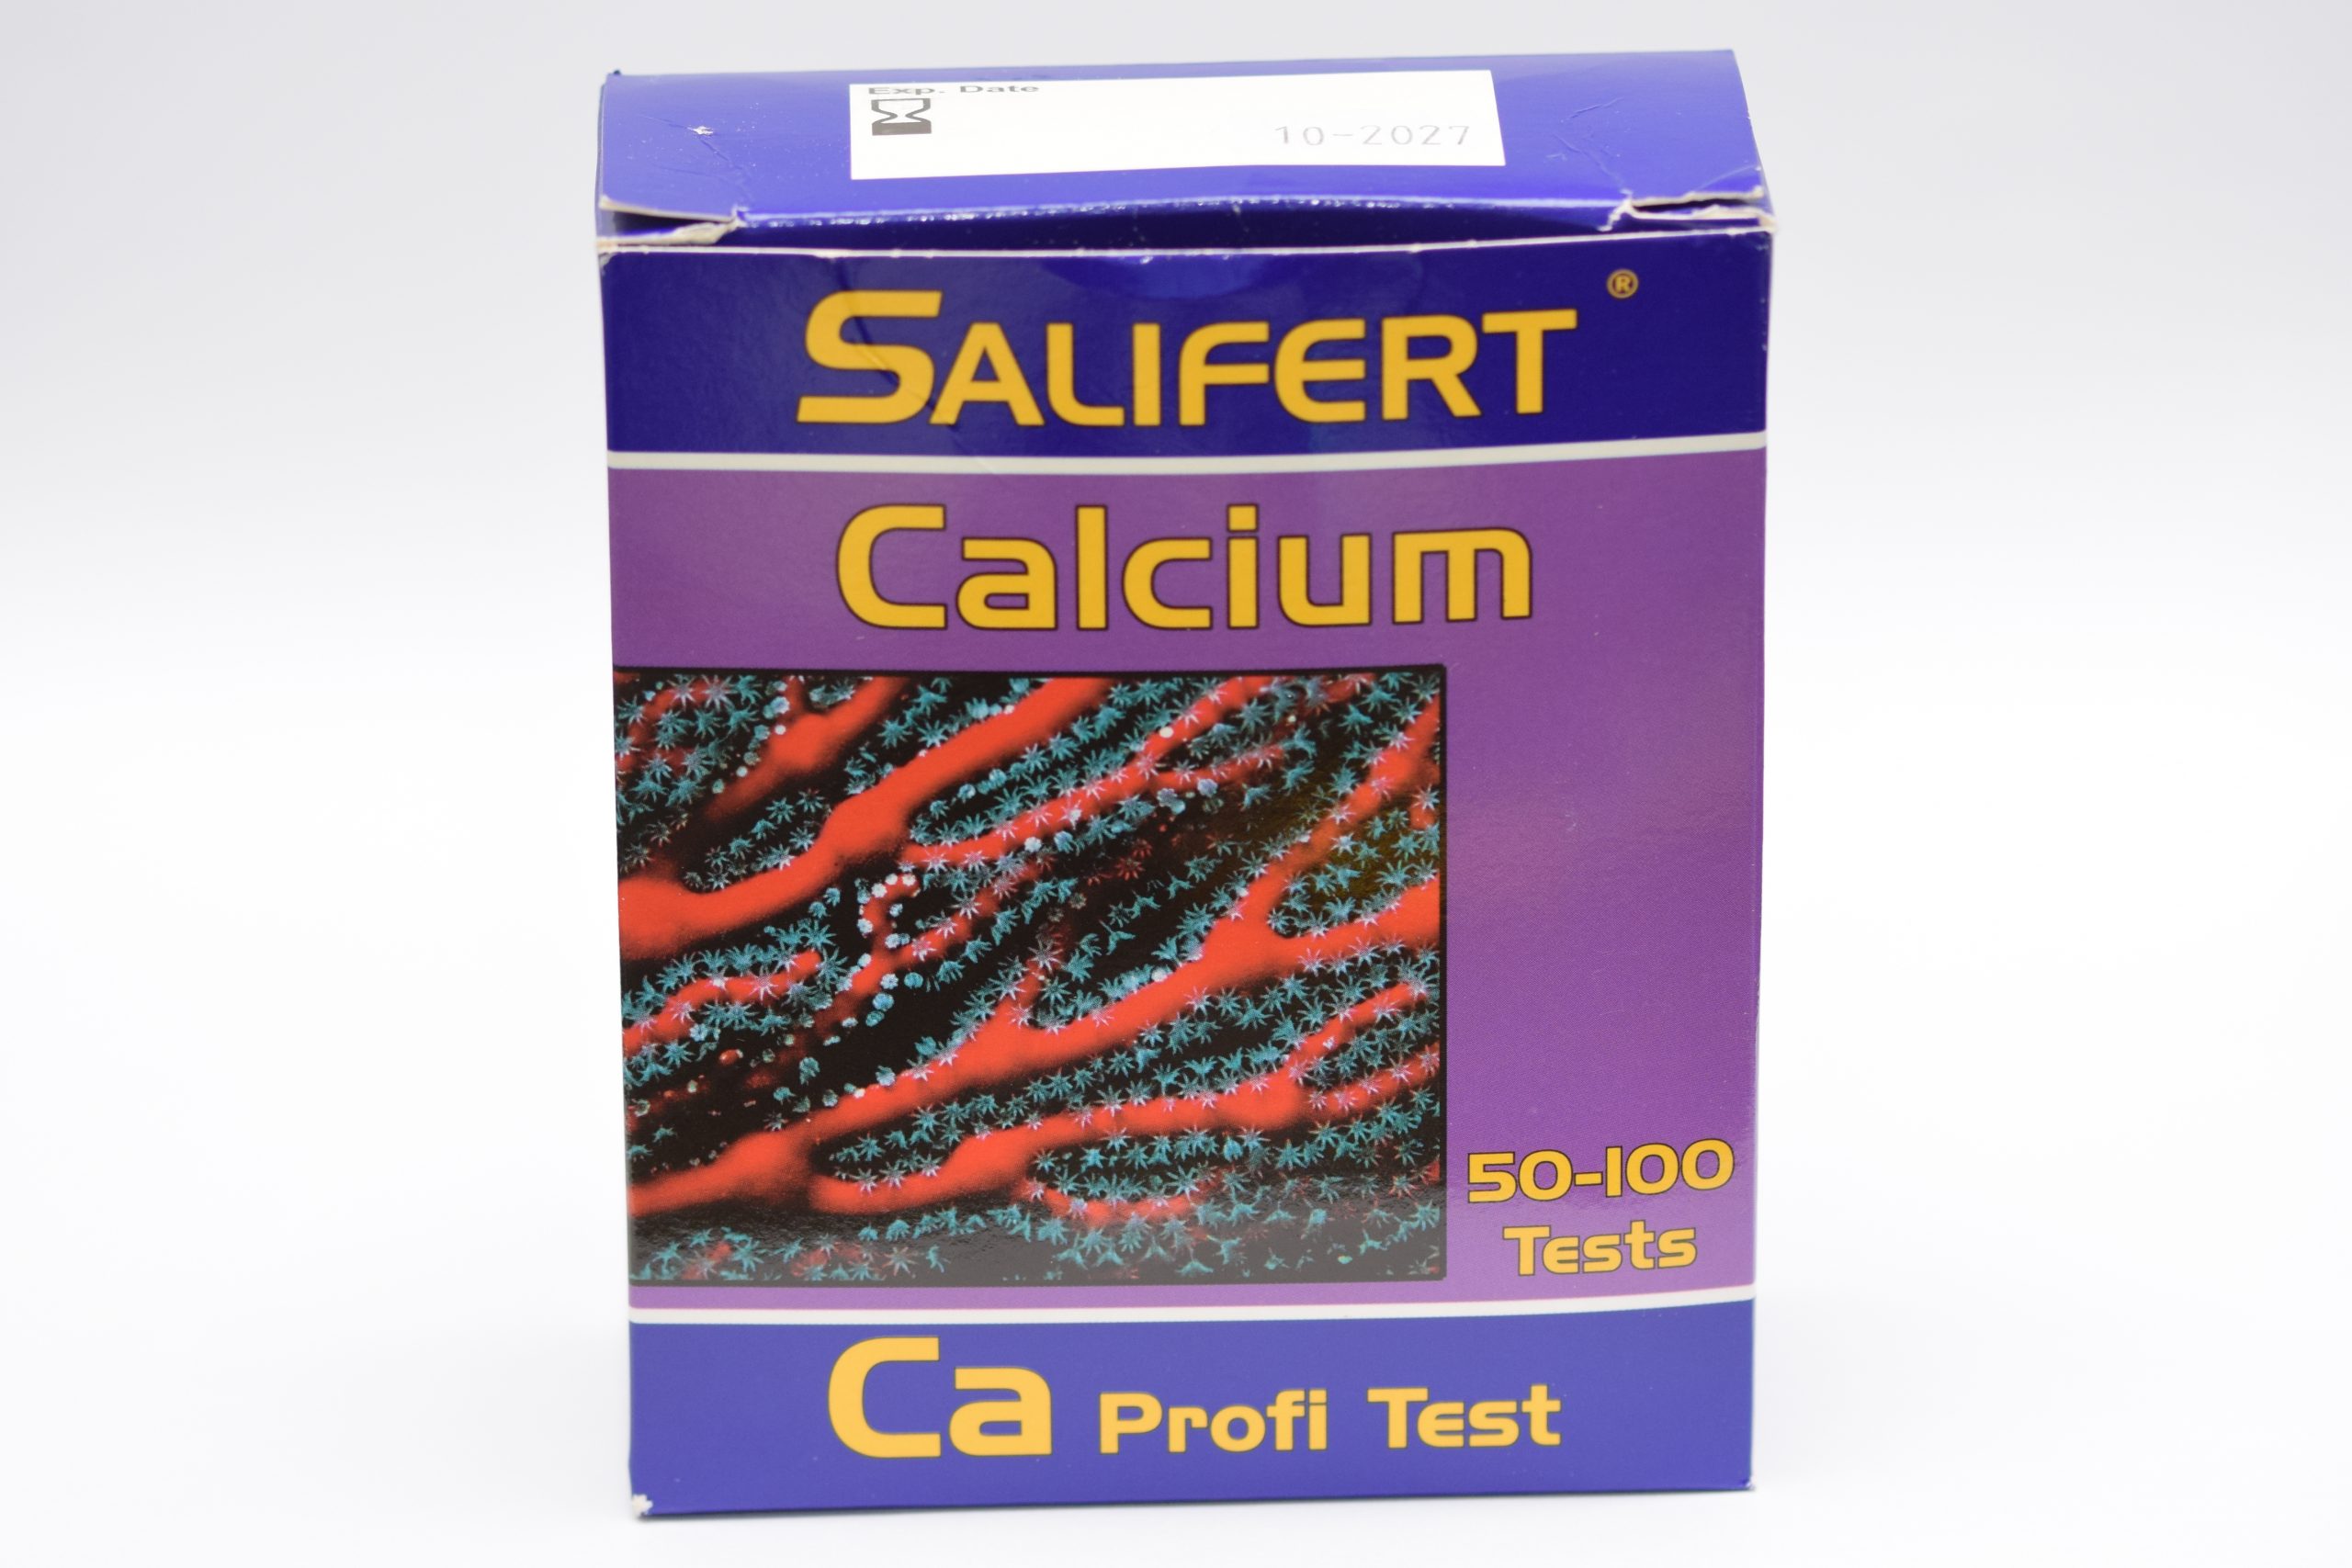
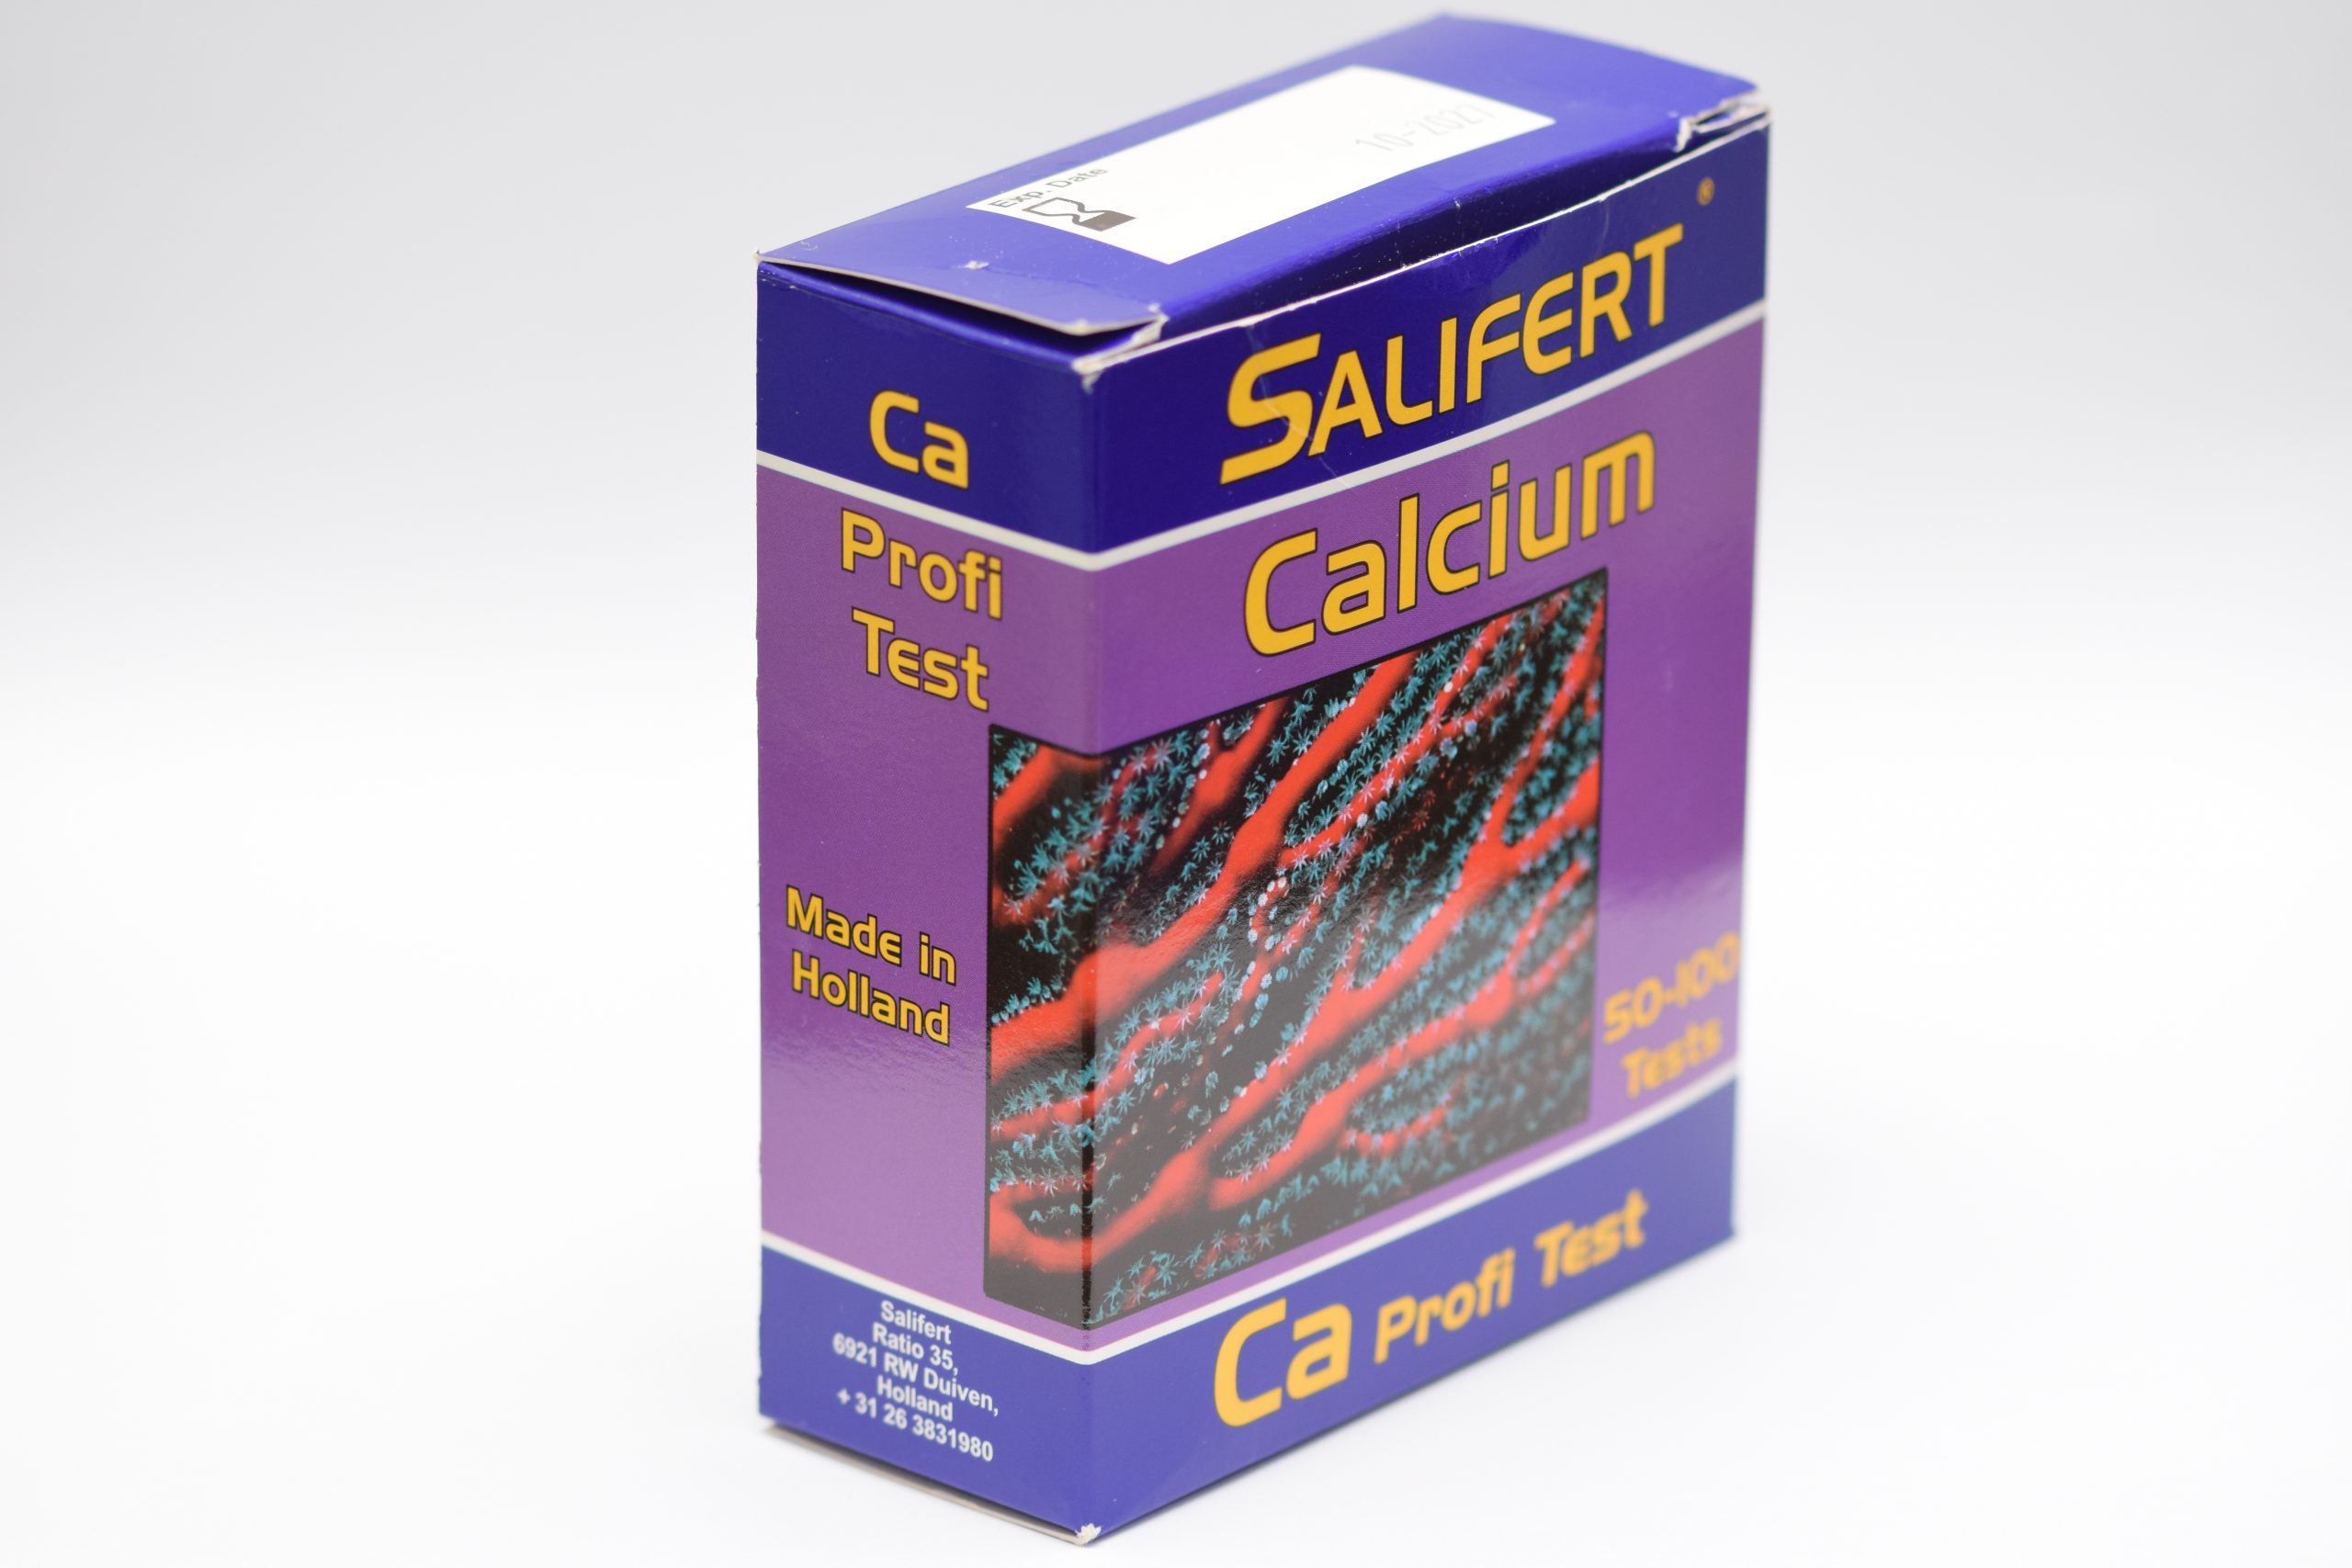
Salifert Calcium test package and contents
The Salifert test comes in a simple cardboard box with little information on the package: the expiration date, safety information for the irritating liquids, the address of Salifert in the Netherlands (the country where these tests are made), and an indication that the box is enough to do 50-100 tests (a rather vague indication, but this depends on the fact that, depending on the amount of calcium in the water, more or less reagent will be needed).
Inside we find a plastic test tube, two reagents (one powder and one liquid), two syringes (one of which is a “precision” syringe with a pink nozzle included) and a 0.05 ml teaspoon as well as, of course, instructions in several languages, but in my (German) version there is no Italian, there are Dutch, French, German and English. On these instructions it is indicated that this is a new test (on the box, however, there is no sign).
I do not know what is new compared to the old tests. You cannot buy refills, and once you run out of one of the reagents, you will have to buy the whole box again. At this price, however, this is not a problem. The cardboard box with no molded places for the various accessories and the plastic tubes show us that this is a very inexpensive test.
Usage
To measure calcium with the Salifert test, you need to draw 2 ml of water from the aquarium with the syringe provided and put it into the test tube (we previously rinsed it with aquarium water). Next, we add a level teaspoon of Ca-1 reagent and aspirate 1 ml of Ca-2 reagent with the “precision” syringe to which we will have added the pink nozzle.
It is important to note that when we aspirate liquid Ca-2 we must bring the plunger of the syringe to the 1 ml mark and not the liquid itself. The readings of the values on this syringe should also be done by looking at the base of the plunger, regardless of the liquid level.
A portion (0.6 ml) of Ca-2 reagent should be inserted directly into the tube so that 0.4 ml of liquid remains in the syringe (as indicated by the photo on the instructions). Do not worry if the liquid changes color; this is normal. Now gently shake the test tube for about 5 seconds and the liquid inside should be pink: if it is not pink something has gone wrong, or your calcium level is 300 or less, so completely out of range for a marine reef aquarium.
By adding the liquid drop by drop and shaking the test tube a couple of seconds between drops you should wait for the color change from pink to blue. Once that happens read the value on the syringe (i.e., where the base of the plunger is) and compare it with the table in the instructions. In my case I measured 0.12 milliliters, for a value of 440 ppm calcium.
Salifert indicates 415 ppm as the natural value in the sea, and a maximum of 500 ppm can be measured. To get an overview of what other manufacturers recommend visit this article.
Quality
A test must have basically 3 characteristics to be valid. First, it must always show the same value when repeated, without fluctuating too much (accuracy); second, it must not depend on the person or conditions present when the test is taken (reliability); and, crucially, the value must show the correct value (accuracy)!
Precision
The table provided allows us to read values of 0.02ml, but with the syringe we can identify changes as small as 0.01ml (with good light and a good view). Interpolation of the table is very simple. For example, if 0.20ml corresponds to 400 ppm and 0.18ml corresponds to 410 ppm, 0.19ml will be 405 ppm. In this way it might seem possible to recognize changes of only 5 ppm in the amount of calcium, but the drops that we put into the test tube are about 0.02ml, so it is not possible to dose the reagent with an accuracy of 5 ppm. That is why I would say that the test has an accuracy of 10 ppm, as indicated by Salifert itself.
Reliability
To check reliability, I ran the test three times at close range (so that the parameters in the aquarium could not be changed). I did not have a third person run the test to check if the values came out the same, but I consider that in certain “doubtful” situations (i.e., in the middle of the change between the color pink and blue) two different people may or may not add a drop of reagent, I myself was undecided, as if in some cases a “half drop” was needed. Therefore, I would say that the test result may vary by about 5 ppm (the half-drop I mentioned), depending on who is doing it, to be added to the value from before.
For this reason, I believe that the results of a water sample made with the Salifert calcium test have a maximum fluctuation of 15 ppm. Unfortunately, we had a single Salifert Calcium test available, so we cannot tell if there is variation between different batches.
In the three measurements taken, I obtained values of 450, 500 and 440 ppm. The second value (measured by doing the test in a hurry) is very different from the other two (measured by doing the test very carefully) and is a clear sign that I made some mistake. This shows how easy it is to make mistakes in these tests. The other two values, however, deviate by only 10 ppm, which is in line with expectations.
One place where one can make a mistake in this test is when we aspirate the Ca-2 reagent, which is in an opaque bottle, it can then happen that we also aspirate some air along with the reagent, distorting the results, since it is not clear whether the tip of the syringe is completely submerged. Since there is always air in the syringe, it also becomes impossible to check whether we have aspirated correctly. My advice here is to be very careful at this stage.
Accuracy
To verify the accuracy of the Salifert calcium test, I sent a sample of my aquarium water to Triton ICP. With the Salifert “successful” tests I got an average value of 445 ppm, the Triton test done with the same water shows a value of 435 mg/l.
Physical parenthesis: It should be noted that although it is often said that ppm equals mg/l this is incorrect, since ppm is milligrams per kg and not milligrams per liter. A liter of pure water actually weighs one kg (and so in fresh water this is an absolutely correct simplification). In seawater, salt leads to a density of 1.023 kg/l, so it is correct to make a transformation from ppm to mg/l before comparing the two values.
In practice: the 445 ppm indicated by the salifert test corresponds to 455 mg/l (as the Salifert calcium test package insert also tells us – In this I must say brava Salifert!). Compared to the actual value (Triton) of 435 mg/l we are faced with a 5% error, which in itself I consider a very good value, compared to any human error we can make during the test. Even with regard to the dosage of Calcium in the aquarium, an error of 20 mg/l is tolerable.
Conclusion
The Salifert Calcium test bullies its way onto the market with an attractive price and impeccable distribution (it can be found in almost every marine aquarium store). This test promises an accuracy of 10 ppm, so on paper it is less accurate than other tests (such as the Tropic Marin which indicates 4 mg/l) but this accuracy is almost totally respected (we tend to say that the accuracy is about 15 ppm), as the color change is quite noticeable and better recognizable than in other tests, such as the Tropic Marin, for example, where the interpretation of the result is less obvious.
Compared to a triton test we found an error of 20 mg/l (about 20ppm), thus an inaccuracy of 5%. Added to a measurement with an inaccuracy of +/- 15 mg/l or so we can be looking at an error of up to 35 mg/l, which is enough to keep our aquarium in balance. By taking numerous measurements (and with such a cheap test this is not a problem), we can have even more confidence in the results.
That is why I would recommend this test, especially because of its excellent value for money, perhaps “calibrating it” with a Triton comparison. I for example now know that my test shows values that tend to be too low, but that’s not to say that a different batch won’t do the exact opposite.


